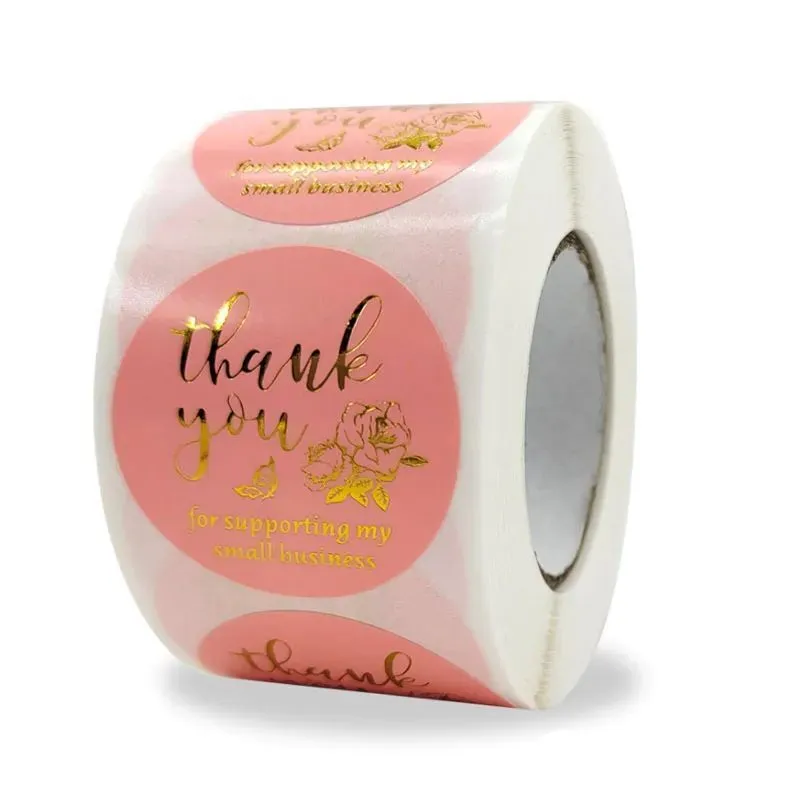
adhesive packaging custom printed packaging thank you
Elements to Consider When Designing Die-Cut Stickers
Certain design elements must be considered to ensure the final product looks visually appealing. Let’s break down what these elements are and why they’re essential.
Safe Zone
Your die-cut sticker must have a safe zone around the sticker design. This is intentionally left blank to account for potential variations during the die-cutting process. Typically, you want to avoid having crucial graphics or texts along the edges.
While die-cutting is highly accurate, leaving room to factor in potential misalignments or minor shifts that can impact the final cut is good.
White Border vs. Full Bleed
You can choose between a white border or a complete bleed design during the design process.
A white border is when you leave unprinted white space around the edges of your sticker design. This creates a clean and polished appearance. The stark contrast between your design and the surface makes it easier to read, especially on darker backgrounds.
A complete bleed design extends your artwork all the way to the edges of the sticker with no clear border. This blends in better with the surface they attach to since there’s no white border between the design and the edge.
Interior Die-Cuts
Interior die-cuts are holes in the middle of the sticker design. They’re used when a sticker needs to fit over or around a pre-manufactured part without covering it completely.
Let’s say you’re adding a sticker to the back of a phone. The sticker must align with the camera lens using interior die-cuts.


